Nothing is more luxurious and soothing than soaking in a tub full of fragrant, fizzy bath bombs. Through the release of a burst of colors, scents, and skin-loving ingredients, these delightful creations transform a regular bath into a spa-like experience. While making your own bath bombs allows you to control the scents, colors, and moisturizing qualities, store-bought it can be quite expensive.

Ingredients in bath bombs
What ingredients do bath bombs require? Here is your bath bomb shopping list:
- 1 cup baking soda
- 1/2 cup citric acid
- 1/2 cup cornstarch
- 1/3 cup Epsom salt
- 1/2 tablespoons almond oil (or any other carrier oil)
- 3/4 tablespoon water
- 1 teaspoon of essential oil of your choice
- Bath bomb molds
- Food coloring (optional)
- Dried flower petals or herbs (optional)
- Mixing bowl
- Whisk or spoon
Recipe for Fizzy Bath Bombs
Step 1: Combine the Dry Ingredients
Combine the baking soda, citric acid, cornstarch, and Epsom salt in a mixing bowl. Blend the ingredients thoroughly with a whisk or spoon until there are no clumps.
Step 2: Preparing the Wet Ingredients
In a separate small bowl, mix the almond oil, water, essential oil, and a few drops of food coloring (if desired). Stir until well combined.
Step 3: Combining the Wet and Dry Mixtures
Slowly pour the wet ingredients into the bowl containing the dry mixture. Gradually mix the ingredients together, ensuring they are evenly distributed. When squeezed, the mixture should resemble wet sand and retain its shape.
Step 4: Finishing Touches (Optional)
Add dried flower petals or herbs to your bath bomb mixture for an extra luxurious touch. Bath Bombs Gently fold them into the mixture until evenly distributed.
Step 5: Creating Bath Bombs
Fill one half of a bath bomb mold with the mixture, pressing it down firmly. Repeat with the second half. To seal the two halves, press them together and twist slightly. Remove any excess mixture that has escaped.
Step 6: Setting and drying
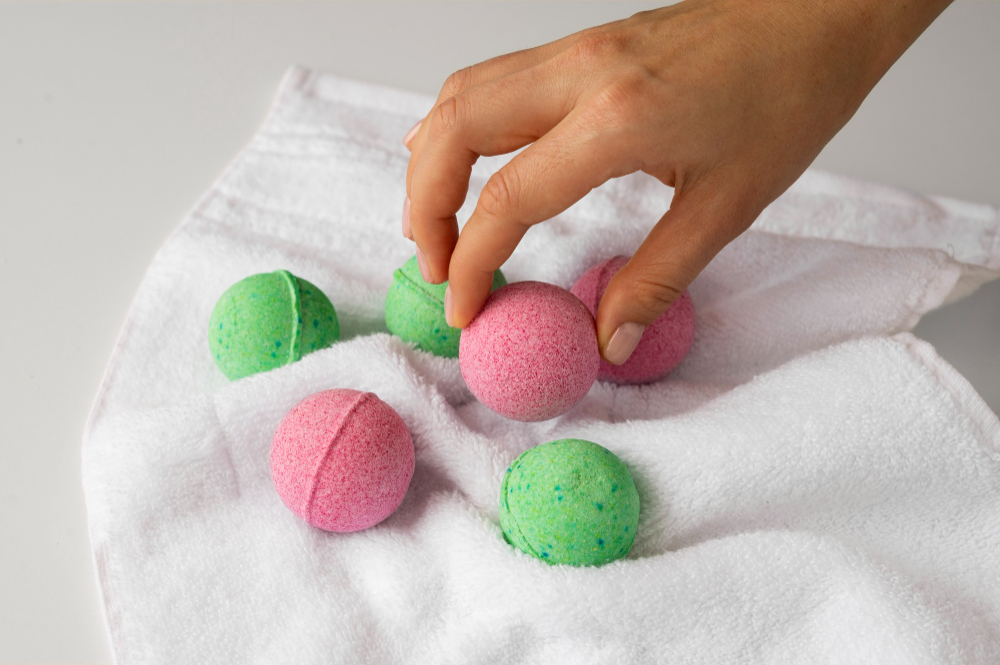
Place the bath bomb on a tray that has been covered in parchment paper after carefully removing it from the mold. Place them in a cool, dry area away from humidity for at least 24 hours to allow them to dry and set.
Step 7: Enjoying Your Bath Bomb
Your bath bombs are prepared for use once they are completely dry! Watch one fizz and release its delightful fragrance and colors as you drop it into a warm bath. Enjoy a spa-like experience while unwinding in the convenience of your own home.
How To Make Bath Bombs A Blissful Bathing
Storing them in airtight containers extended their shelf life, allowing us to enjoy the homemade bath bombs for a longer period of time. As a result, they were not only a luxurious addition to our bathing routine, but also a cheaper alternative to store-bought options.
The water transformed into a soothing, fragrant oasis as they dissolved, with the added benefits of Epsom salt and nourishing oils leaving our skin soft and moisturized.
Making DIY bath bombs is a great way to upgrade your bathing routine, and we highly recommend trying it. They are immersed in a luxurious and personalized bathing experience with any high-end spa treatment.


1 Comment